
This is a recipe that my mother got from a little old lady at a church bake sale one year. It’s so good that it instantly became the birthday cake in our household; Rick requests it every year.
Tools
10-inch tube pan or bundt cake pan
Large and small rubber or silicone spatulas
Electric mixer
Cake Ingredients
1 cup (2 sticks) butter, softened
2 & 3/4 cups sugar
6 large eggs
1 tsp. vanilla extract
3 cups all-purpose flour
1/4 tsp. baking soda
1/2 tsp. salt
8 oz sour cream
Food coloring (optional)
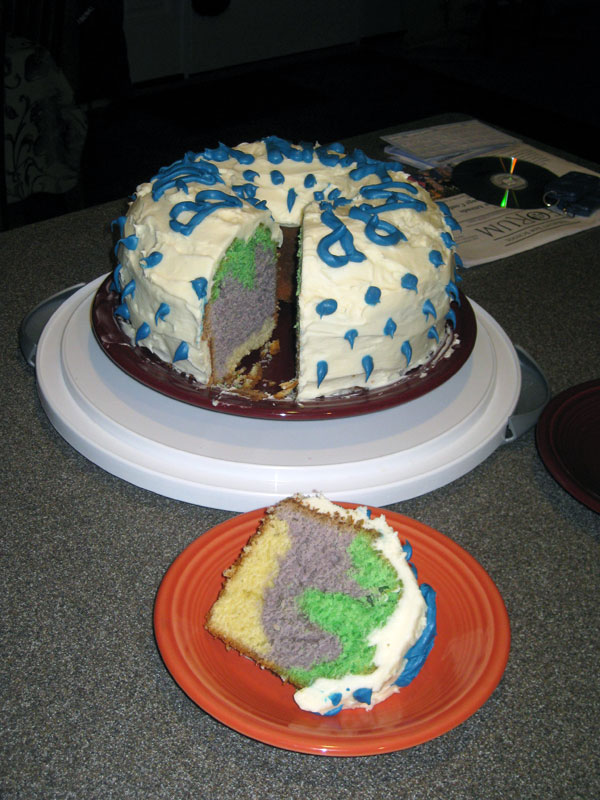
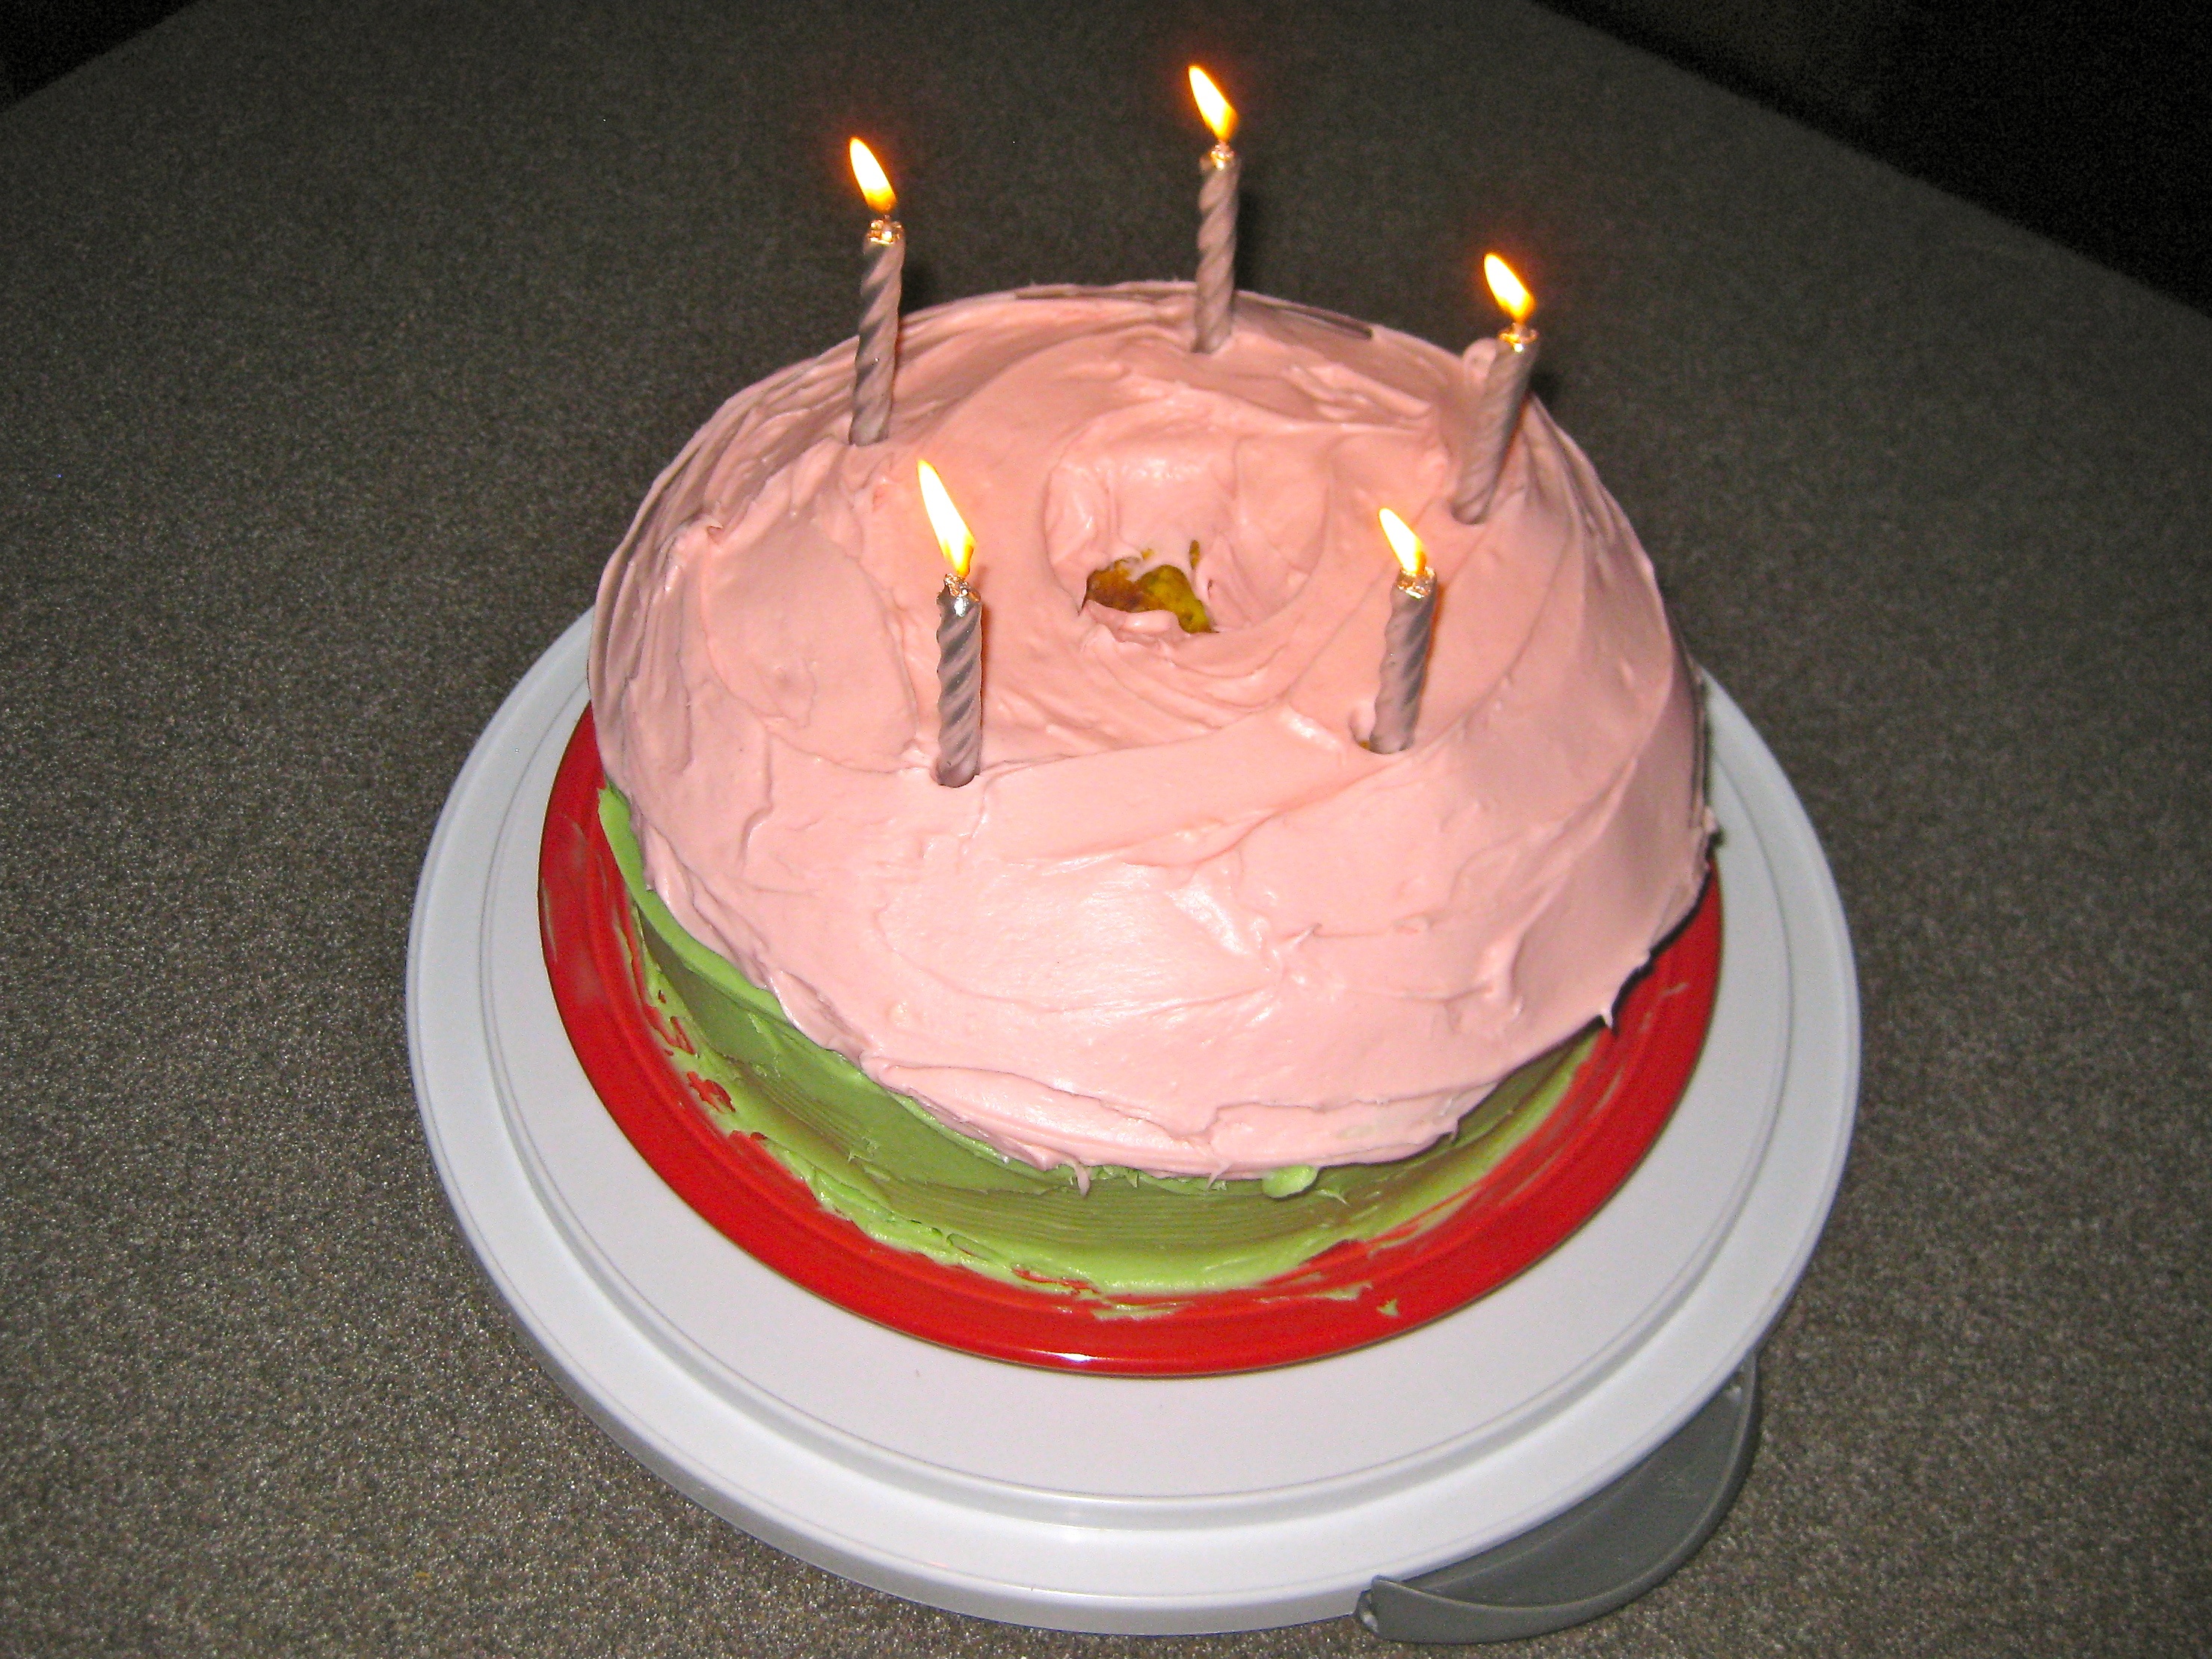
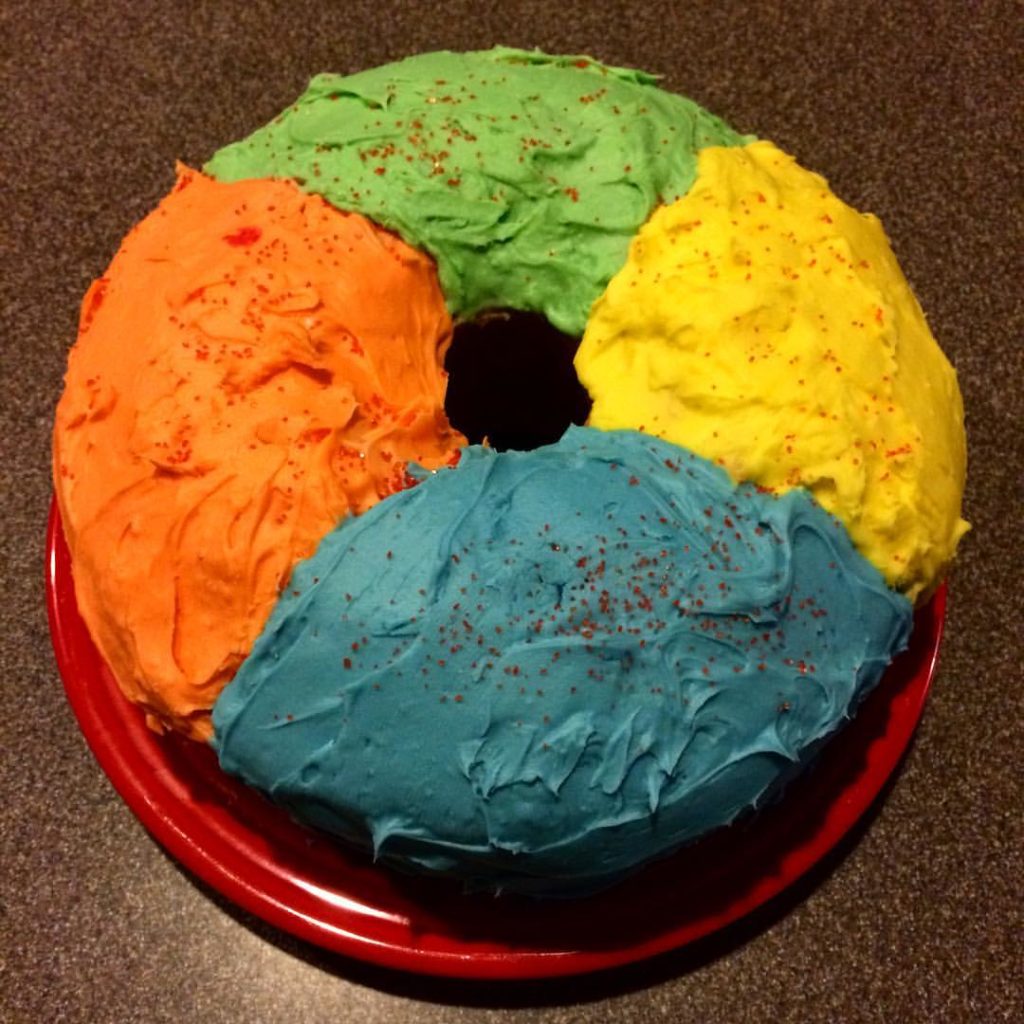
Note: I like to use food coloring to make contrasting cake and frosting colors, for festive appeal. This is optional of course.
Preheat oven to 325 degrees F. In a medium bowl, combine flour, baking soda and salt; set aside.
Very Important: Butter the inside of your cake pan, and don’t be shy about the butter – use a lot and get every centimeter, including the center tube part. Next, put a handful of flour into the buttered pan, and tilt the pan around slowly so the flour can spread out and stick to the butter layer. Hold your pan over the sink or a trash can and tilt the pan in different directions to be sure you get all the surfaces coated. Gently tap out the excess flour.
In the bowl of a stand mixer, combine the butter and sugar until fluffy. Add the vanilla and one egg; mix. Scrape the bowl well. Continue to add the eggs one at a time, mixing after each addition.
Next, add half the flour mixture to the egg/butter mixture and fold together with a spatula, then mix. Add half the sour cream and mix; then add the other half of the flour mixture and a the food coloring (if you are using any) and mix again. Finally, add the rest of the sour cream and mix just until the cake batter is smooth.
Pour the cake batter into your prepared cake pan, making sure it is evenly distributed. Bake for 70-80 minutes, turning once to ensure even baking. To test the cake for done-ness, insert a wooden skewer or chopstick into the cake and remove immediately. If the skewer comes out clean, your cake is done. If it comes out sticky, your cake needs a few more minutes in the oven. When the cake is done, set it out to cool for at least 20 minutes.
To release the cake from the pan, run a very thin chopstick or long thin knife between the cake and the pan. Make sure you go all the way to the bottom of the cake pan when you do this, and be gentle. Next, place a dinner plate upside down over the cake pan. Turn the cake pan and plate over. Your cake should release from the pan and fall onto the plate. The cake will come out bottom-side up. Place a wire rack on the cake and flip it back over to get it right side up (this is safer than just lifting it with your hands, as it keeps the weight distributed). Allow the cake to cool for at least another hour before frosting it.
Frosting Ingredients
4 Tbsp. (1/2 stick) butter, softened
8 oz. Cream cheese at room temperature
1 tsp. Vanilla extract
16 oz. Powdered sugar
Food coloring (optional)
 In a large bowl, cream the butter and the cream cheese. Add the vanilla and start adding the sugar a little at a time. You want to whip a lot of air into the frosting to make it light and also increase the volume so that there is enough to cover the entire cake. Keep whipping and adding the sugar a little at a time. Add a little food coloring if you like. After all of the sugar has been added, cover the bowl with plastic wrap and refrigerate the frosting for about 20 minutes. It needs to be semi-firm but not stone cold before you spread it on the cake.
A quick word about frosting the cake: there’s no right or wrong way, but the method I have found to be easiest is to put blobs of frosting on the top of the cake, then work the frosting around and down with a small spatula to get it to stick to the cake surface. Then it is a matter of smoothing or texturing. The longer the frosting sits out the softer it will get, eventually melting off the cake. So work steadily and don’t fuss with it too much. Put the frosted cake back into the fridge and take it out only when you are ready to serve it. Enjoy!