
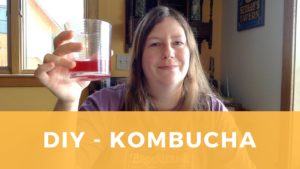
It’s the hot new health trend that’s been around for thousands of years! Yes, even I have been bit by the kombucha craze. But at $5 – $6 per bottle it’s also a very expensive habit. So, I decided to try making my own kombucha at home. The first couple of batches have been tasty, and at a few cents per serving, certainly more sustainable for our bank account.
Ingredients
- The SCOBY
To make kombucha, you need a SCOBY (symbiotic culture of bacteria and yeast). Like a vinegar mother, it’s a living organism that does the fermentation for you. But unlike sourdough and some cheeses, you can’t just let a SCOBY form from the air – you have to start with an established one, which you can get from a kit, a friend who is making kombucha, or from an unflavored variety of store-bought kombucha*. Here in Vermont, Aqua ViTea makes a variety they call “Tea-Totaler” which doesn’t have any added sweetener or fruit juice. If you can find a bottle of unflavored kombucha with a little jellyfish-looking thing in the bottom (a baby SCOBY), you can start with that. Otherwise, you’ll have to get a SCOBY from a friend, or order one. You can buy them many different places; I got mine at a local health food market.
- Black tea
- Sugar, preferably organic evaporated cane juice
- Fruit juice or whole fruit (optional)
Equipment
- Fermentation vessel
- Glass or ceramic mixing bowls and measuring cups
- Ladle
- Funnel (optional)
- Storage vessels with tight-fitting lids. Mason jars or flip-top beer bottles with a rubber gasket work well.
* Note: If you’re starting with commercial kombucha, you might need to wait a while for the baby SCOBY to grow and mature, and there are some sources that suggest throwing out the first few batches of feeder tea while this process is taking place (basically instead of making kombucha for yourself you’ll be growing a SCOBY for a few weeks first). If that’s the case I’d make a half batch and wait at least 2-3 weeks to see how well the SCOBY is doing.
Instructions
Once you have a robust, healthy SCOBY you’re ready to proceed.
Phase 1
To make your kombucha base, you first make sweet black tea. The proportions here are what I use to make a batch for one week (half gallon). You could halve this or double it to make less or more.
4 black tea bags (3 tsp loose black tea leaves) : 1/2 gal. boiling water : 1/2 cup sugar
Boil the water and add the sugar and tea, and let steep for 5-6 minutes before removing the tea leaves or bags.
Allow the tea to cool completely to room temperature. This is very important to ensure you don’t kill the SCOBY with heat.
Pour the cooled tea into your fermentation vessel and add the SCOBY. If your vessel has a lid (I use a fermentation crock from Two Potters) open it every day and give a stir with a clean spoon, so it gets a little fresh air. If you don’t have a lid on your vessel, you can use a coffee filter and rubber band to cover the top and keep dust and bugs from getting into the tea. You might want to dip the coffee filter in vinegar daily to prevent mold from forming on it.

Wait at least a week for the tea to ferment. I’ve read that you can leave it in this primary state for up to 30 days depending on how sour you like your kombucha.
After a week, take a good look at the kombucha and give it a sniff. It might have pale or clear gummy stuff floating around in it or on the surface. It should smell pleasantly sour, like plain yogurt. If you have a colored mold or black or green slime, or foul odors, consult an expert but don’t drink the tea!
If it looks and smells ok, then give it a taste. It should be a bit tangy and pleasantly fermented-funky, with most of the sugar eaten up by the SCOBY. If it’s too sweet it might need a few more days fermenting.
Phase 2
Next, it’s time to add optional flavorings, bottle, and ferment a second time.
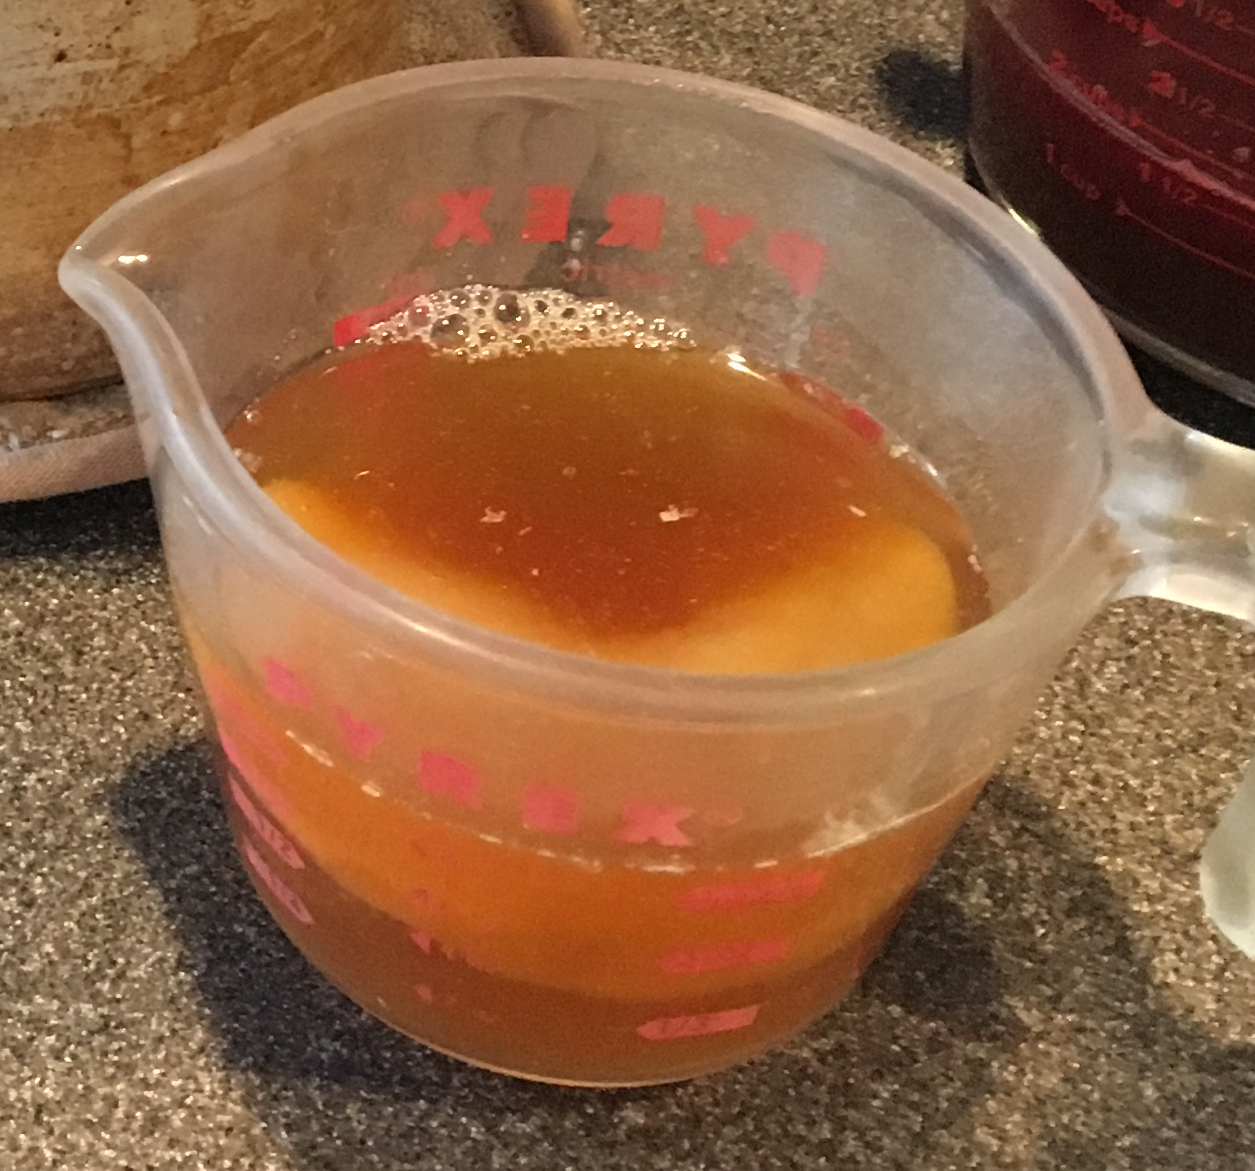
First, scoop your SCOBY out and place it, plus a cup of the kombucha that it made, into a vessel for temporary safekeeping.
Transfer your fermented kombucha to a bowl that’s large enough to hold this liquid plus any additions you plan to include. From here you can go nuts with fruit juices, tinctures, herbs, pieces of fresh fruit, or whatever else you’d like to add. One rule of thumb I learned from a friend was to add 10% – 15% fruit juice or 20% – 30% if using whole fruit. There are tons of recipes out there on the internet, so look around and see what seems appealing.
Personally, I’ve found I like adding tart fruit as it compliments the naturally tart flavor of kombucha. And, to save from having to re-ferment, strain, and more fiddly business, I’ve stuck with fruit juices.
So, flavor your tea, add a little more sugar or honey if you like (especially if you’re adding something strong like lemon or raspberry juice), and get ready to bottle.
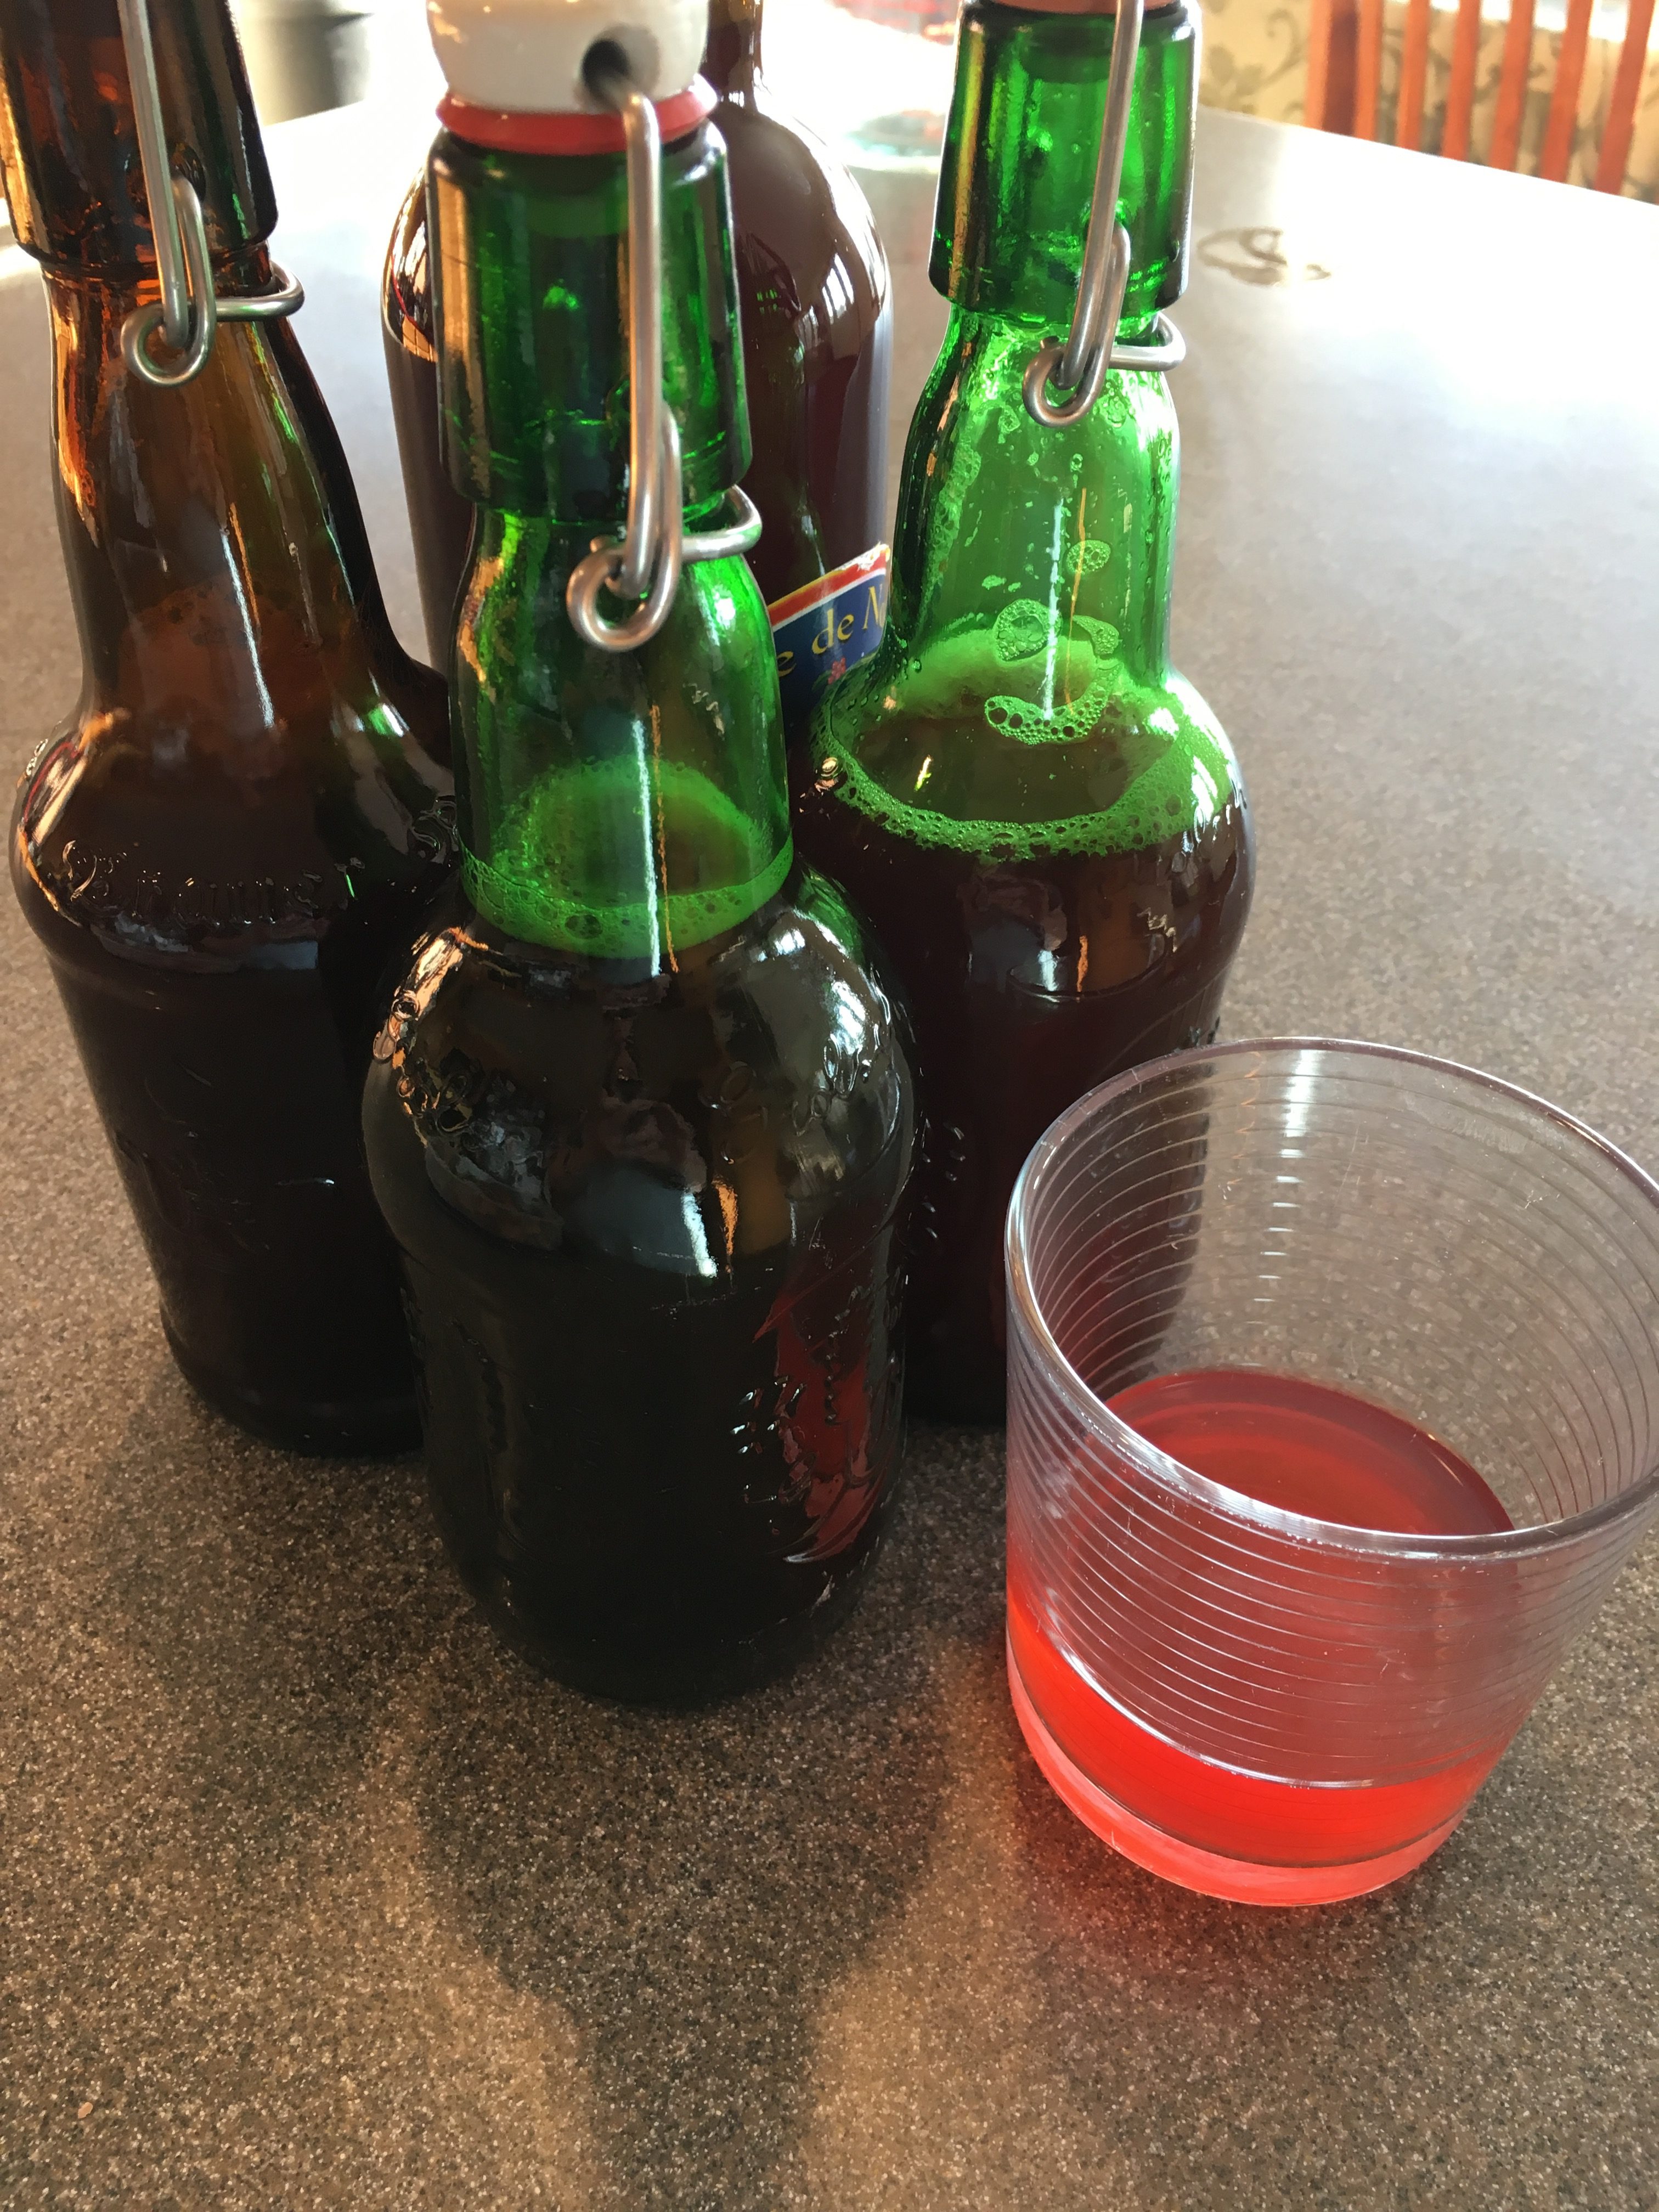
You’ll need to sanitize your bottles or jars so that only the beneficial SCOBY critters are in there doing the second fermentation. I rinsed mine with hot water first, then used StarSan, a commercial brewing sanitizer, followed by a rinse. You could use hot water followed by any other food safe sanitizer.
Next, bottling! I used a measuring cup with a narrow spout that fits just inside the lip of the bottle opening. A funnel might make things easier, especially if you have one with a built-in filter to catch fruit pulp and seeds.
Now for the second fermentation. Fit the lids onto your bottled, flavored kombucha, and place the jars in a warmish space. Our kitchen stays around 58F during a winter day, and that’s a little too cold for fermentation, so I moved my bottles to the back bedroom which gets up to 70F when the heat is on.
Leave the bottles in a warm spot for a couple of days to carbonate. You can test them daily by opening a little and listening for the “pffft” of carbonated gas. Once you get this sound, re-seal the bottles and leave for 24 hours to build up more bubbles, then move to the refrigerator. It’s important not to leave your kombucha in the warm room for too many days unattended, as they could potentially build up gas and explode! Storing in the cold refrigerator slows fermentation to a crawl and keeps your kombucha ready-to-drink for several weeks.
On bottling day, you’ll also need to do something with your SCOBY and the reserved, unflavored kombucha. You can store these in the refrigerator temporarily if you’re not ready to make more kombucha base yet. Or, do what I do on bottling day, and prepare your next batch at the same time. Follow the steps above to make sweet black tea, and then add your SCOBY and the cup of reserved, unflavored, kombucha to the cooled tea and let it ferment.
Have you made your own kombucha? Let us know what you think, and what flavors are your favorite.