

Eco-printing is a method for directly transferring the shape and color of whole plant materials to fabric or paper. I’ve tried this technique in the past, but only on cotton fabric. I knew it must work on wool as well, and immediately thought of using sock blanks as a canvas.
For these first experiments, the plants that dyed best were: sunflowers, black-eyed Susans, cosmos, milkweed leaves, and yarrow flowers. We did try ferns and some other tree leaves as well, but those gave an effect that was much more subtle. The good news is that this technique can be used multiple times on the same fabric, so if one item doesn’t yield a lot of color, you can do the process again with another plant.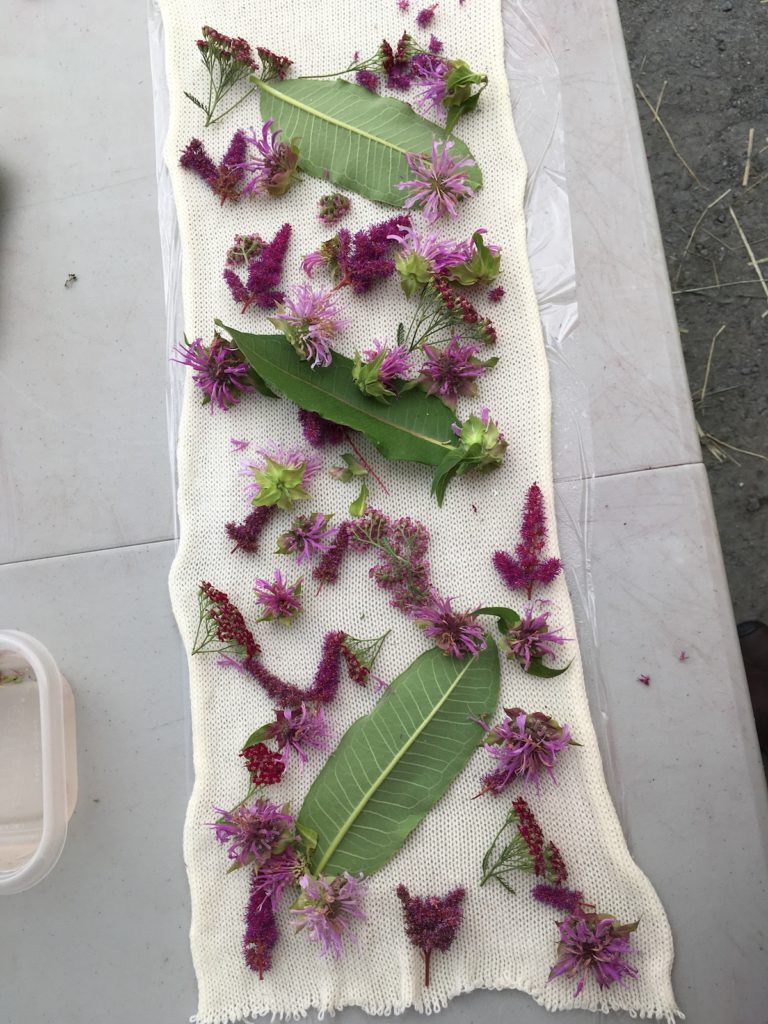
If you live in an area where you can grow or forage for leaves and flowers, you can pick your own materials. If you don’t have access to fresh materials, some commercially-available dried flowers and leaves can give great color as well.
Steps for eco-printing on wool or silk:
You’ll need: mordanted fabric, dye plants, a thin non-reactive shield or film that is the same width as your fabric (thin flexible cutting mat, silicone baking liner, or plastic wrap), cotton string, and a steamer with a rack.
Step 1: Prepare your fabric with mordant. I use 10% alum on wool. Botanical Fibers has a great tutorial on mordanting yarn with alum.
Step 2: Wet out your fabric in warm water.
Step 3: While your fabric is soaking, collect your plant material if you are using fresh. Harvest your leaves and flowers as close to dye time as possible so they don’t start to wilt and shrivel up.
Step 4: Lay your film on a flat work surface, one that you don’t mind getting a little wet. Squeeze out the excess water and lay out your fabric on top of the film so that at least 1/3 of one end of the fabric is on top of the film.
Step 5: Begin laying your plant materials onto the fabric. Don’t be afraid to crowd things together or even slightly overlap them. If you have a lot of the same item, remember to place some pieces face up and some face down. Cover half of the fabric with plant material.
Step 6: Fold the undecorated side of the fabric onto the decorated half. Then, starting from the edge where the film lies underneath the fabric, very tightly roll the fabric and film together into a packed jellyroll. The film will separate the jellyroll inside so the plants print more cleanly on 2 layers (rather than oozing color onto all the layers).
Step 7: Tie your fabric roll with string and place it in the steamer on a rack. Steam for at least 3 hours.
Step 8: Allow the eco-print roll to cool completely before unrolling it. Shake out the plant material (this can be composted) and gently rinse your fabric in cool water, then hang to dry in a shaded location.
Have you tried ecoprinting onto wool or silk? Let us know what plants or flowers you used and what results you liked best!
