By a change of mind, or by accident, sometimes we end up with yarns that we no longer like the color of. Often, this can be a great opportunity to create a new custom color. In a previous post I discussed over-dyeing a variegated yarn to unify the color palette across the skein.
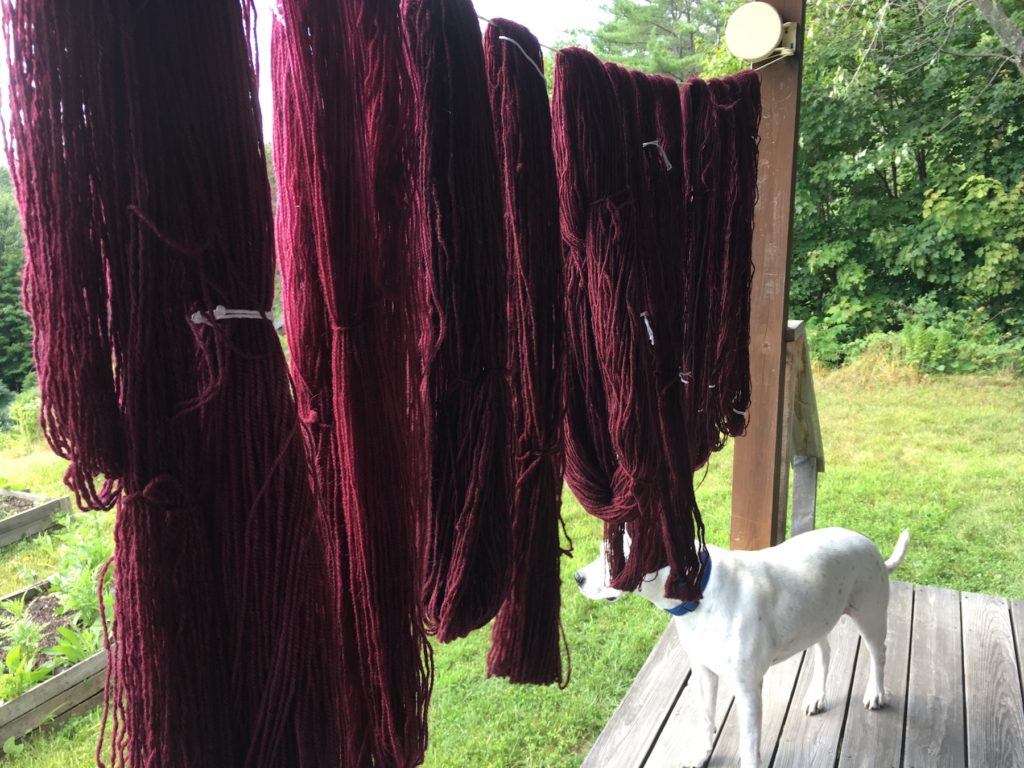
This time, I had several different skeins with different tonal qualities that I wanted to dye to a dark cherry red. I decided to use the same concentration of dye for all of them, to show how different starting tones would influence the final depth of color.
When using a commercial acid dye, I like to use the Greener Shades line of dyes. They’re more eco-friendly than some other brands, as they’re free of heavy metals (they can even be used on Certified Organic yarns). Also, you can get a 100-page PDF sample book which gives you many recipes for pastels, medium shades, earth tones, and jewel tones. It’s a great place to start for developing your own colors as well.
Note that this type of acid dye works on protein fibers only, such as wool, silk, mohair, or alpaca, and will not work for cellulose fibers such as cotton or linen.
To dye with acid dye powder

You will need: a digital scale that can measure in 100th of a gram, small spoons, white paper, dye powder, citric acid or vinegar, small vessel for mixing dye with a tight-fitting lid, a few glass marbles, pH test strips, dye kettle, long-handled spoon, thermometer, respirator mask, gloves.
Step 1: Weigh your yarn or fabric while it is dry, so that you can use this number for your dye formula. Dye formulas are based on weight of goods and depth of shade. In this example I used a concentration to achieve a 1% depth of shade, for a medium to jewel tone.
Step 2: Wet out your yarn or fabric in warm water.
Step 3: Fill your dye kettle about half full with warm water and place it on the heat source but do not turn on the heat yet. Put on your respirator mask to protect yourself from dye powder. Place a few marbles into the vessel you’re using to mix the dye.
Step 5: Place a small piece of white paper on the digital scale and tare it (set to zero). Measure each color of the dye recipe by weight by adding small amounts of dye to the paper on the scale, then carefully place the powder into the mixing vessel. Use a fresh clean spoon and piece of paper for each color so you can measure accurately and not cross-contaminate your colors.
Step 6: Add a small amount of hot water to the mixing vessel and cover with the lid. You can remove your respirator at this stage. Slowly and gently swirl the marbles around in the vessel. As the marbles swirl they will crush and mix the dye powder in the warm water. Make sure that all of the dye powder is mixed thoroughly and there are no tiny specks of powder.

Step 7: Put on your gloves. Carefully open the mixing vessel over the dye kettle and pour the dye into the warm water, then rinse the vessel and lid in the kettle a few times to be sure all the dye is in the dye bath. It’s ok if a few of the marbles spill into the dye bath as well.
Step 8: Squeeze out your yarn and place it gently into the dye kettle. Give a gentle stir and poke, and add a little more warm water if necessary. You want the yarn to move freely in the kettle.
Step 9: Turn on the heat source. Heat the water slowly until it reaches 150F, stir again gently and hold for 10 minutes.
Step 10: Add citric acid or vinegar to the dye bath and stir gently again. You want to add enough acid so the dye bath reaches a pH of about 4 or 3.5. Continue to heat the water and stir occasionally until the temperature is just below the boiling point, about 210F.
Step 11: Hold the dye bath at this temperature for at least 20 minutes, then check to see how the color is adhering to the yarn. If the dye bath still has a strong color, try adding more acid and cooking for a few more minutes. If the dye bath is nearly clear, turn off the heat and cover the pot. Allow to cool for several hours or overnight.
Step 12: Remove the cooled yarn from the dye bath and rinse in cold water. There should be very little to no color coming out of the yarn. (If the yarn is bleeding a lot, return it to the dye bath, add more acid and cook again and then rest again overnight.) Gently squeeze the excess water out of the yarn and hang in a shaded place to dry.
