
I assume I am not alone in finding bread-making both fascinating and scary. It is a simple process, but for some reason the thought of starting bread would paralyze me. The other thing that would keep me from starting was the idea that I had to make sourdough, and keep feeding a starter. That sounds like work. I am not sure I can keep track of how many times I told Sarah “I am going to learn to make bread” and then never did. That changed a few weeks ago, and since then I have made a few successful loaves using a simple recipe I found online. Of course, once successful, I had to tweak things! Click through to learn how to make this simple, rustic bread as well as a few tips on how to change things up to make even more-interesting breads!
The Original Recipe
The recipe with which I started is credited to Carrie Pacini of For The Feast website (Instagram: @carriepacini). I know nothing about her other than I really like the simplicity of her recipe, and the flexibility it gives one to expand upon. The recipe below is based on hers with some help for noob bakers like me. Below that are some ideas on how to get creative with it. I have done my best to include information for those who use weight measurements instead of volume using this website to make the conversions. YMMV
Ingredients
- 2 cups of lukewarm water (500ml)
- 3 cups all-purpose flour (435g)
- 2 teaspoons granulated sugar (8g)
- 1 teaspoon salt (6g)
- 2 1/2 teaspoons of active dry yeast (or 1 packet) (10g)
- 1 Tablespoon of Olive Oil (15ml)
- Sea salt or herbs (to taste)
Instructions
- In a large liquid measuring container add the yeast and sugar to 1/4 cup (60ml) of tepid water. In about 10 minutes check to make sure the yeast is active — it will be foamy if it is. If the yeast is doing its thing, add more tepid water up to the 2 cup (500ml) mark. Note: If the yeast isn’t active, you need to try another yeast.
- In a large bowl blend the flour and salt, and mix well. Pour the water/yeast mix in a bit at a time into the flour using a fork to blend. Continue to add as much of the water/yeast mixture as needed. Note: you may not need all of the water. You want the dough to be just a tad bit moist. Also, if you plan to add herbs, garlic, or other flavors to your bread, do it at this step.
- Sprinkle the ball with a bit more flour and work it with your hands to make a ball. Just roll and tuck in gently.
- Take the dough and gently mold it into a smooth but firm ball with an elastic feel.
- Put the dough back into the bowl and cover with a kitchen towel and let it rise. This can take 30 minutes or more depending on the temperature and humidity in your kitchen. Tip: If your home is a bit cool, place the covered bowl in the oven with the oven light on, BUT NOT THE OVEN ITSELF. Remember remove the dough from the oven before the next step of preheating the oven for baking.
- Preheat the oven to 375ºF (190ºC). Note: With all the dough proofing I have found pre-heating the oven at this step in the process works well, but again it will depend on how long the first proof took to anticipate how long the second will. If you don’t plan to proof a second time, pre-heat the oven just after Step 4 above.
- Once the dough rises take a little more flour, pat it down, and roll/knead it into a ball again.
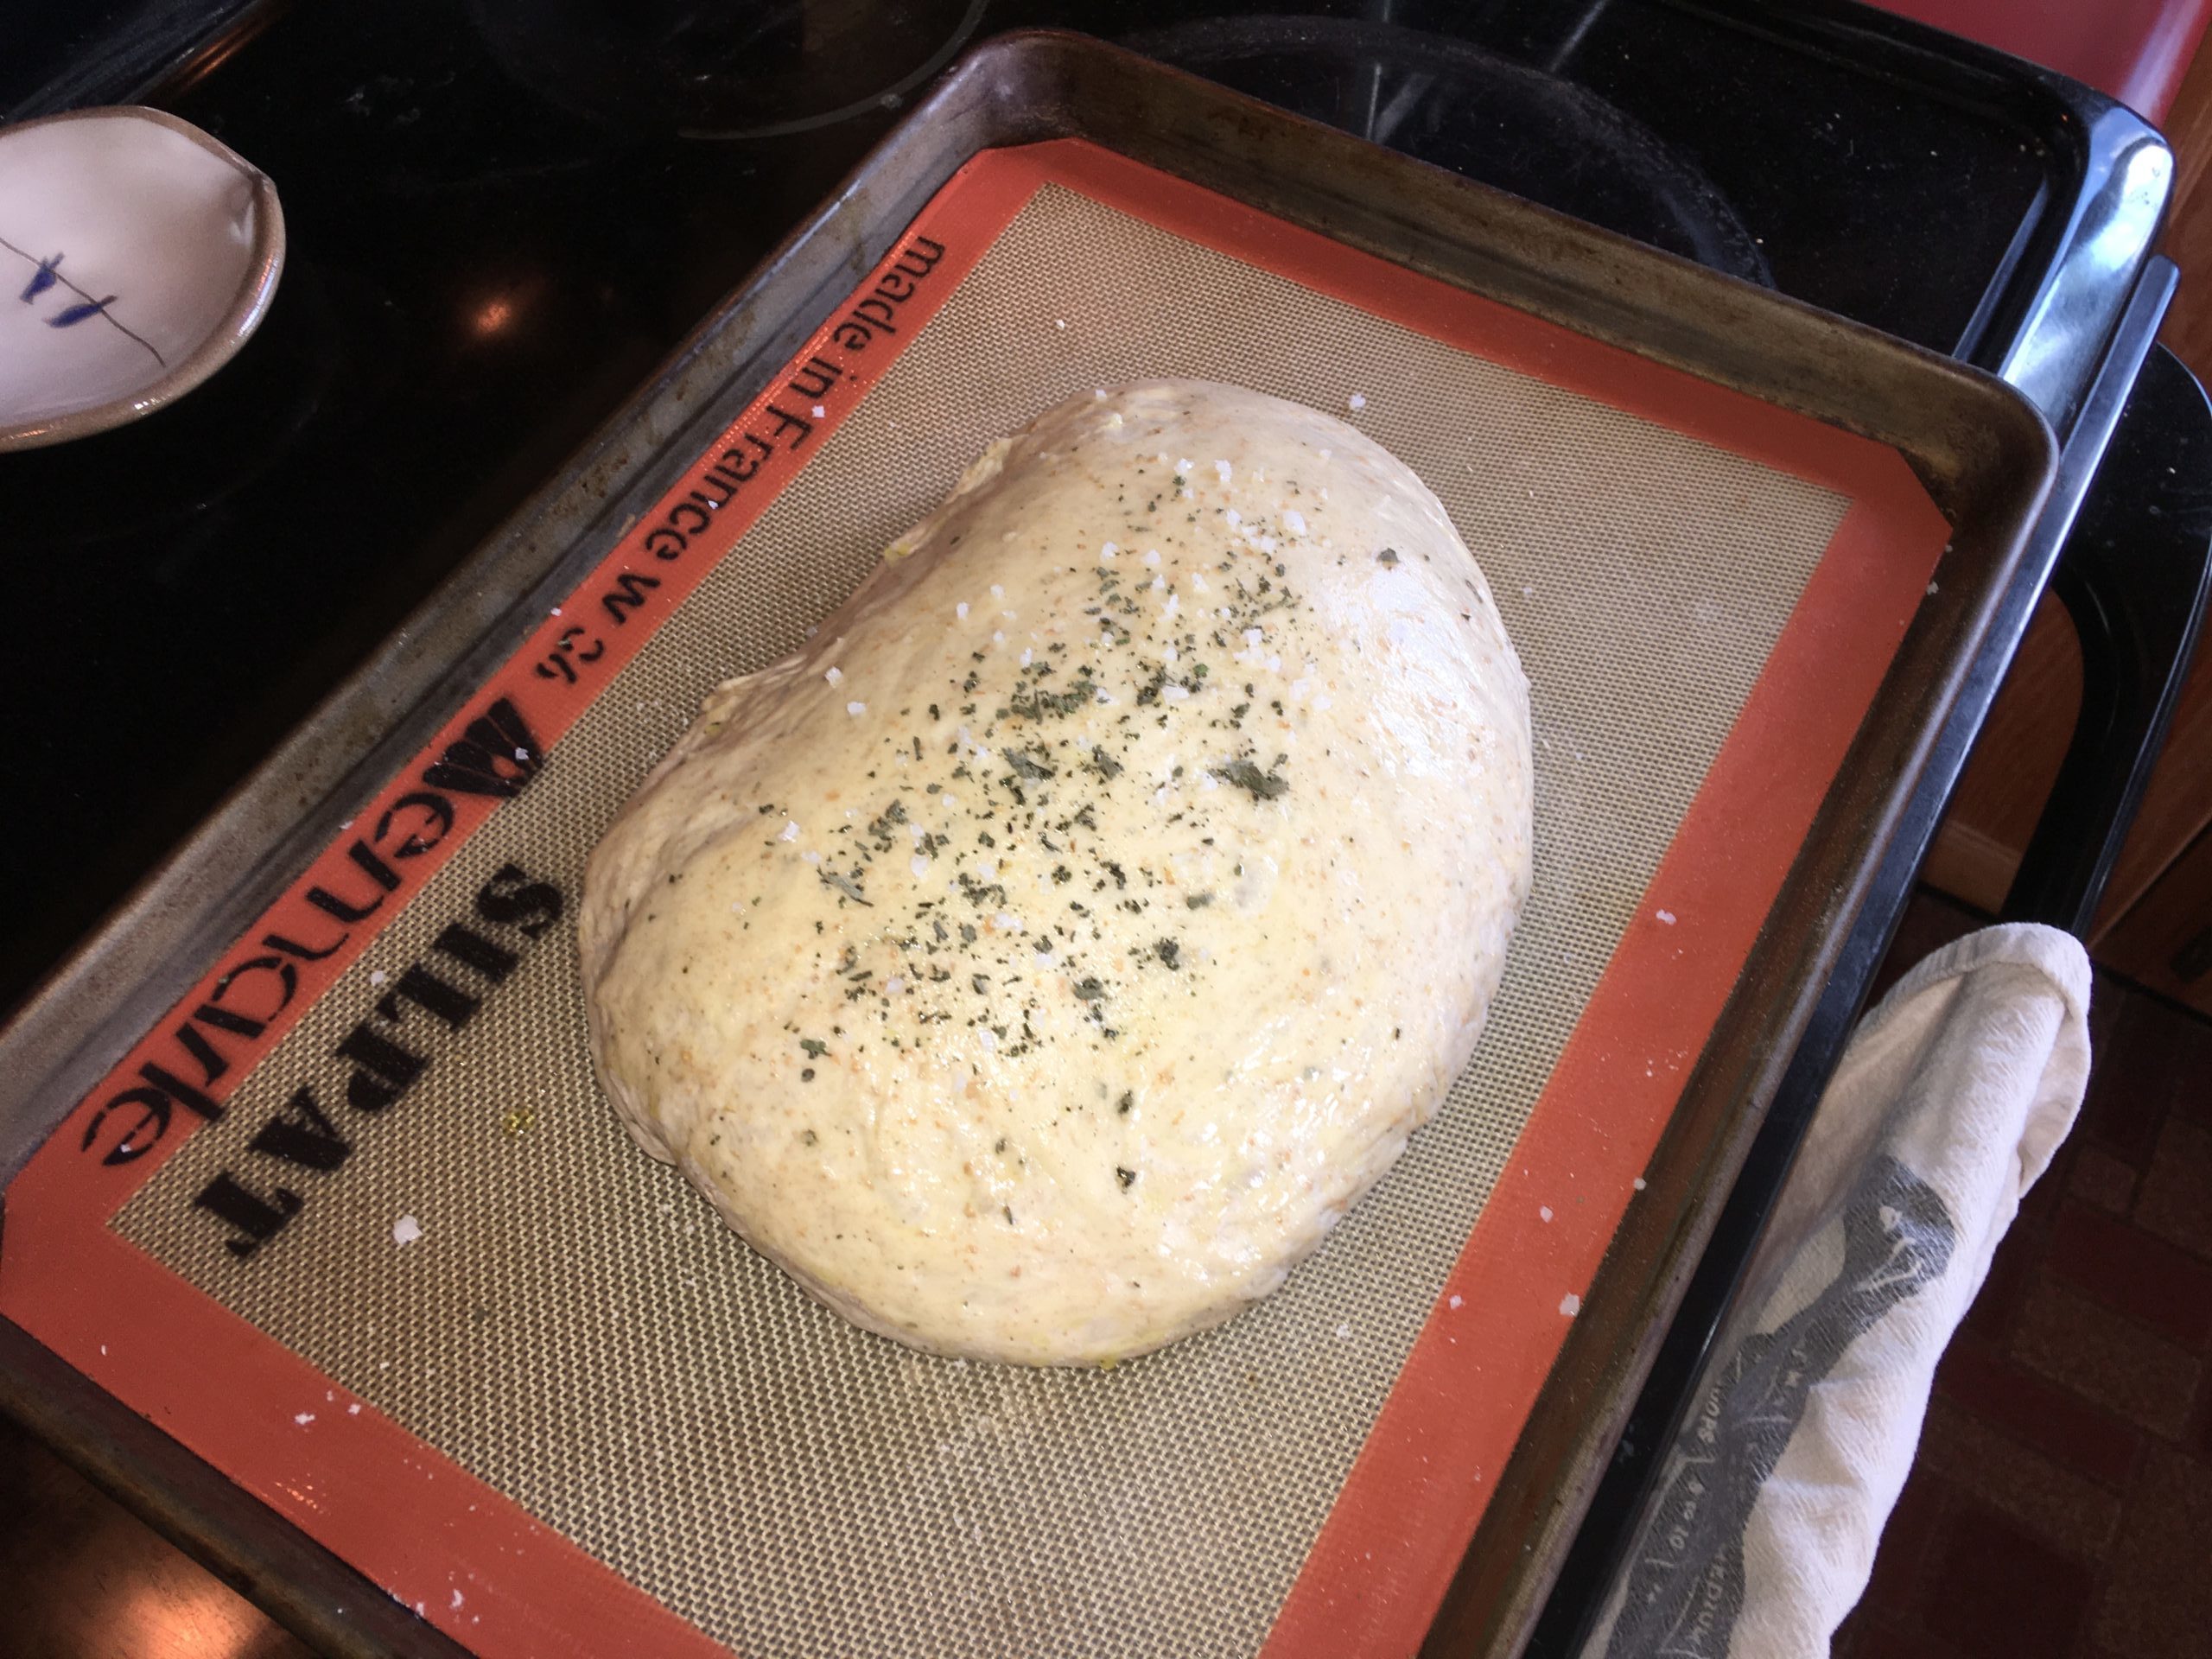
- Put the dough back into the bowl and let it rise 1 more time. A second rise makes for better bread; however, if you are short on time one rise will do. Note: I do my second proof on a Silpat™ silicon mat on a baking tray to reduce the handling of the dough.
- After the risings are complete, take the dough and put it on a baking tray lined with parchment paper (or Silpat™ silicon mat). The dough should be elongated and oval-shaped, with tapered and rounded ends. Note: Mine usually turn out more rounded by the end.
- Use the olive oil to coat the top of dough. Gently use your hands to apply the olive oil or use a pastry brush (silicon preferred) to apply. This will give the loaf a little color and a slight crunch on the outside.
- After rubbing the dough loaf with olive oil you can get creative with herbs and spices. A bit of sea salt, sesame seeds, etc. (see below)
- Score the top of the dough loaf with a sharp knife at about a 45º angle, but don’t get hung up on accuracy!
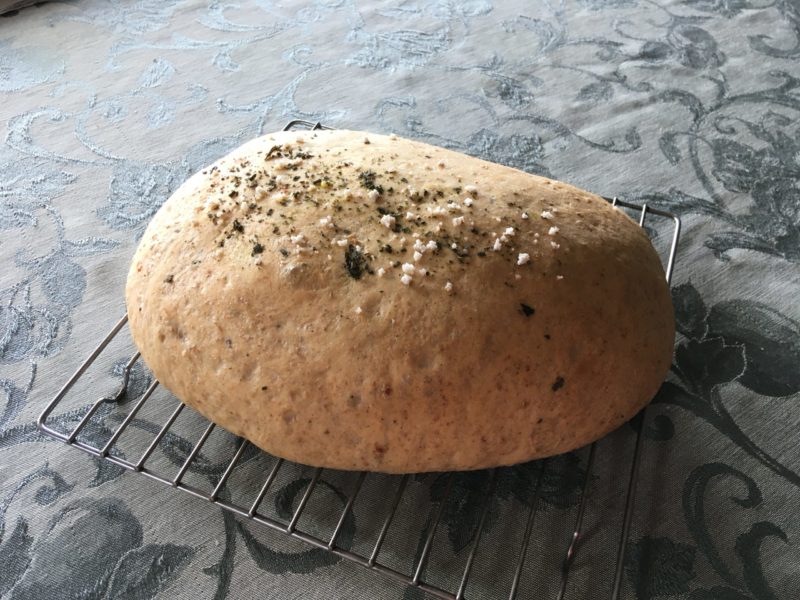
- Bake for 30 minutes and test its readiness by tapping the bottom of the loaf. You should hear a hollow thump.
- Allow the bread to cool for about 30 minutes before serving. The olive oil also means you don’t really need to add butter! But it doesn’t hurt.
Tweaks and Changes
This recipe is a really great base for experimentation. Each time I make a loaf, I make another little adjustment and it has been very forgiving. Here are the things I have tried (so far).
- Mince a clove of garlic, add a few drops of olive oil and microwave for 30 seconds — 10 seconds at a time so as not to splatter. Add this to the dough at the same time as combining the water/yeast to the flour for a wonderful, aromatic garlic bread.
- Grind herbs of your choice — I have used dried sage from our garden — and add them to the dough. Again, this can be done whilst adding the yeast water.
- Combine 1 and 2 above!
- Sprinkle the herbs of choice on top of the loaf after adding the olive oil. I have used sea salt, sage, and herbs de Provence with great success.
- Experiment with different flours by swapping out some of the all-purpose flour with another type. I am trying to add more wheat flour to my breads, and have started that process by swapping in 1/2 cup (72.5g) of whole wheat flour. However, I like white breads, and will likely only go as high as 1/3 of whole wheat (1 cup whole wheat, 1 cup all-purpose flour).
Are you baking breads? Let us know how it’s going.